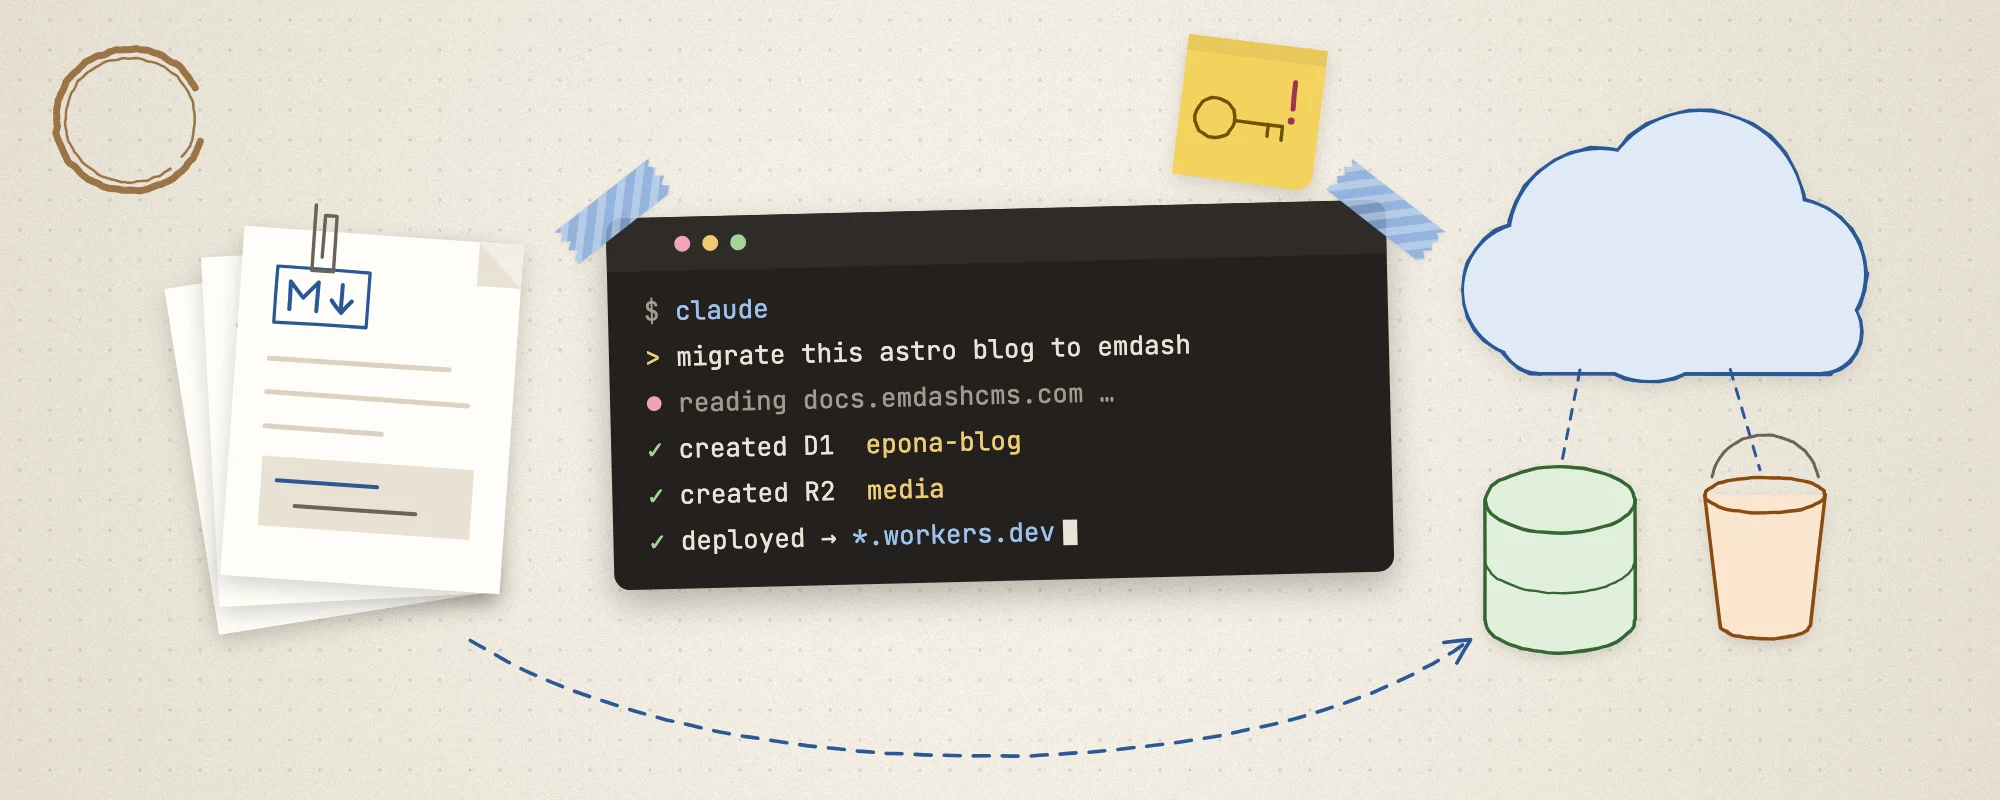
I've been writing a blog on and off for quite a few years now, though I never really stuck with it consistently. I tried WordPress, Jekyll, and Ghost, but eventually settled on Astro to build my blog, and that's the one I've stuck with for a decent stretch. When Cloudflare announced their WordPress replacement EmDash, I didn't jump on it right away since it was in preview. After a few months, though, I noticed it was still getting regular updates and quite a few people had already migrated, so I decided to start the move myself.
Doing the migration with Claude Code
As of September 2026, most people are probably doing their migrations with AI. The AI is good enough now that all I did was open up Claude Code and type in
https://docs.emdashcms.com/existing-project/

参考这个, 把现有的astro 更改成使用 emdash 管理的CMS
Then the AI starts installing EmDash based on the docs and the structure of the existing project. I installed the Cloudflare Connector on my end, and Claude Code even went ahead and created the D1 and R2 resources for me — it really saves you time and effort.
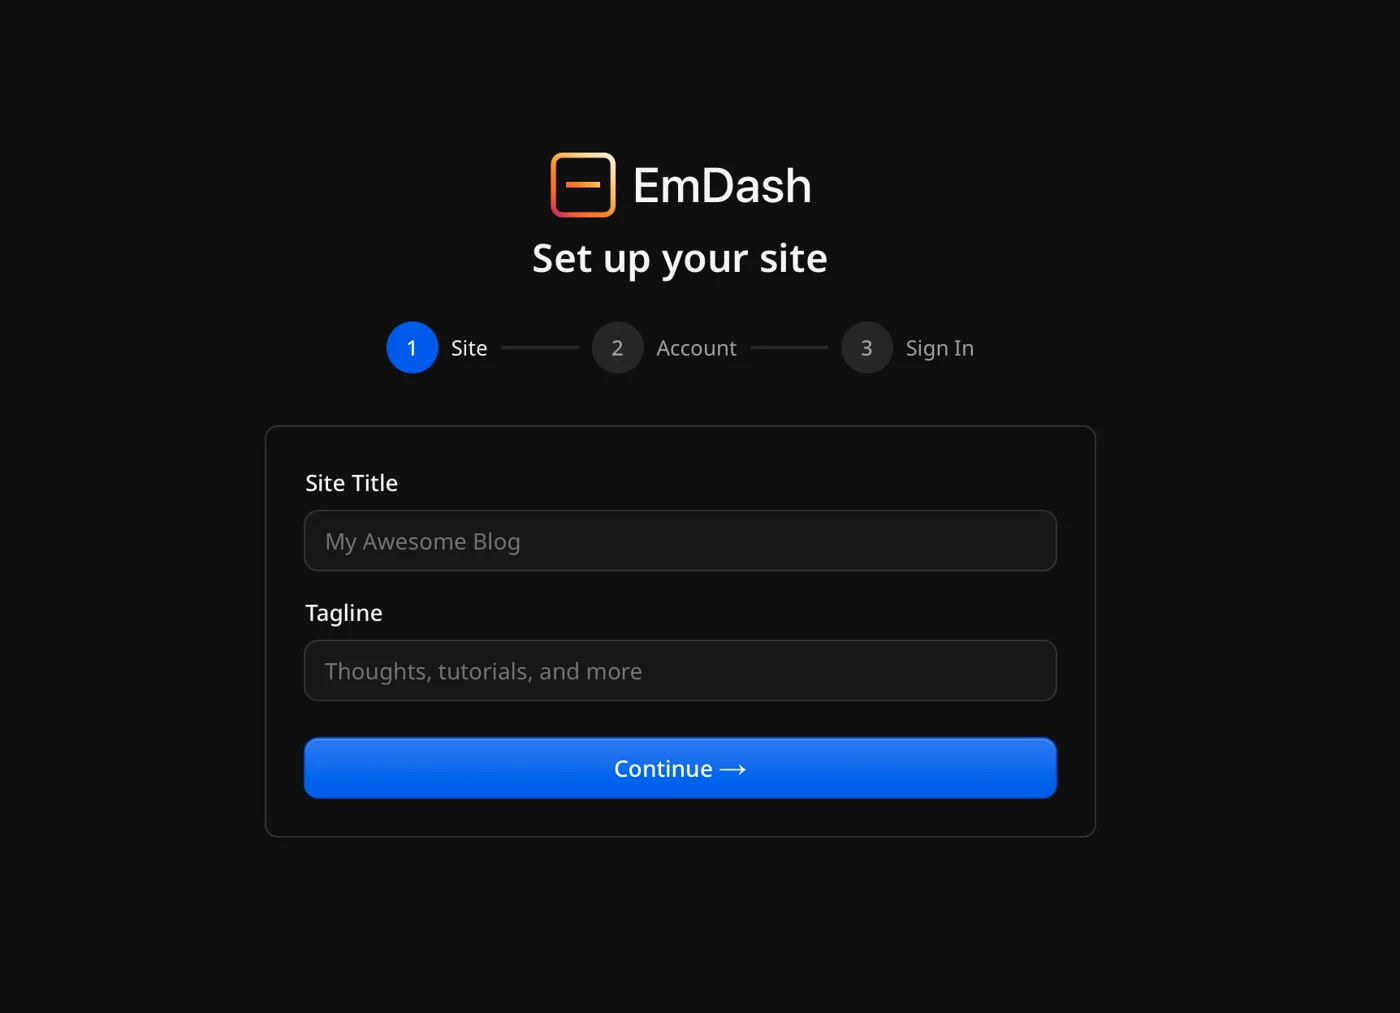
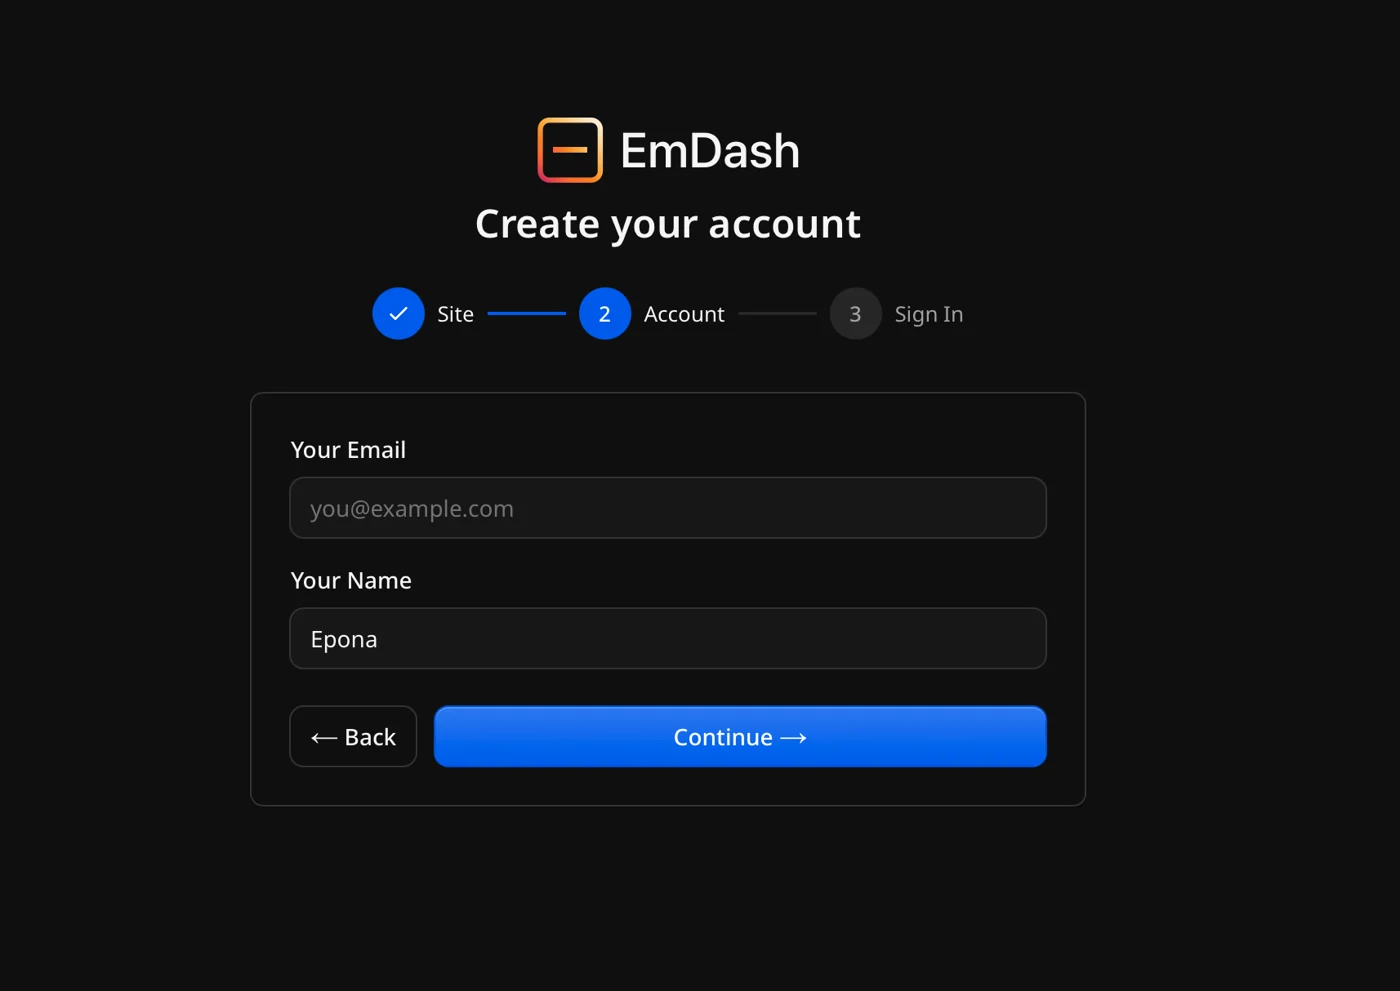
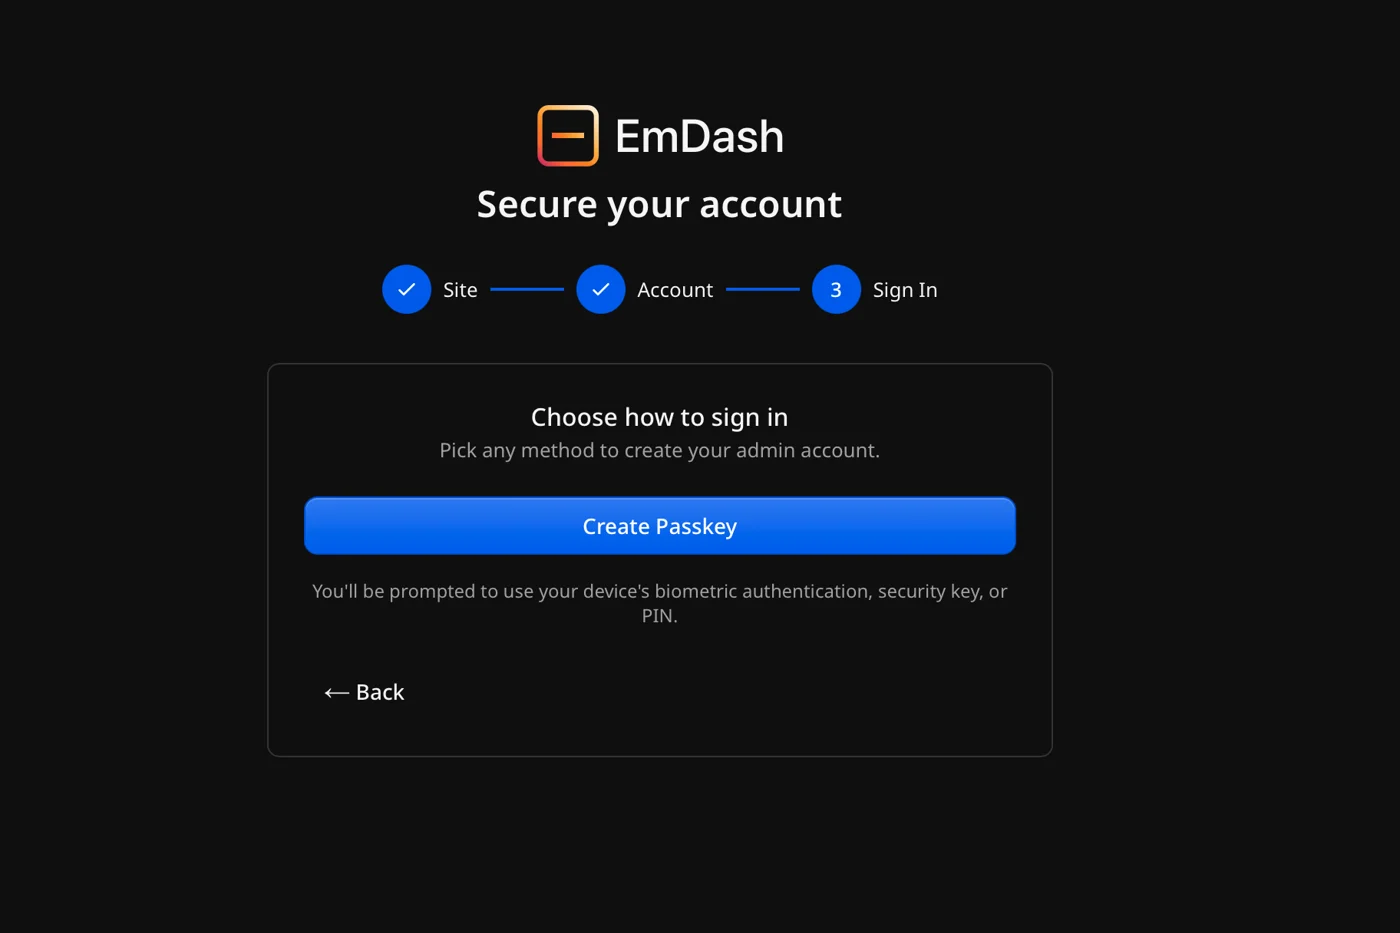
After a while, I had EmDash successfully deployed to Cloudflare, and I'd already set up PassKey login for the EmDash admin panel (which turned out to be a trap — more on that in a later post).
Two key takeaways from the initial deployment
Even though Claude Code made the whole deployment pipeline go smoothly, there are two crucial lessons from actually doing it that I want to flag for you upfront:
1. Your existing MDX posts: make absolutely sure they're in EmDash before you delete anything!
Your local Markdown/MDX files are your absolute asset in Git. After importing content into EmDash, make sure you verify in both the Admin panel and the frontend that everything is fully present in the Cloudflare D1 database — whatever you do, don't rush to delete your local files the moment deployment succeeds. Keep a complete archive backup first, and only clean up once you've confirmed nothing was lost.
2. Strongly recommended: set up your custom domain first, then configure PassKey login!
This is a hidden trap that most people (including me) are extremely likely to step into:
- Many people, right after deployment, habitually complete the admin initialization on the default *.workers.dev temporary domain and casually bind their device's PassKey.
- However, PassKey (WebAuthn) is strongly bound to the access domain (Origin / rpId). Once you later bind your own custom domain, **when accessing via the custom domain, the PassKey you created under workers.dev will simply stop working and can't be used to log in!**
Next post preview: the PassKey trap that nearly locked me out of my own admin panel
The second point from the previous section is actually the most painful lesson I learned firsthand during this migration:
At the time, I happily set up my PassKey under workers.dev, but when I bound my own custom domain, I found that the admin panel on the custom domain couldn't pull up that PassKey at all.
At that point the system suggested logging in with an email verification code — and here's where it got awkward — **I hadn't configured any email service (Email Provider) at all at that point!**
PassKey wouldn't work, email verification codes wouldn't arrive — I nearly locked myself out of the admin panel I'd just built with my own hands...
How did I get out of that mess? And how do you configure the email plugin in Cloudflare's edge environment? In the next post, we'll dig deep into this ridiculous PassKey and login authentication saga.
You got a collectible· Item get
Ancient Spindle
Common
- Region
- Tech Highlands
- Found near
- Astro · Claude Code · Cloudflare
- Discovered
- Journey
- 3 min
Earned by finishing this quest. The more travellers who read it, the rarer it grows.

Loading comments…